Article Overview
- Understanding your skin type and choosing the right foundation formula
- Techniques for finding your perfect foundation shade
- Essential tools for foundation application
- Step-by-step application guide for a flawless finish
- Professional tips for long-lasting wear
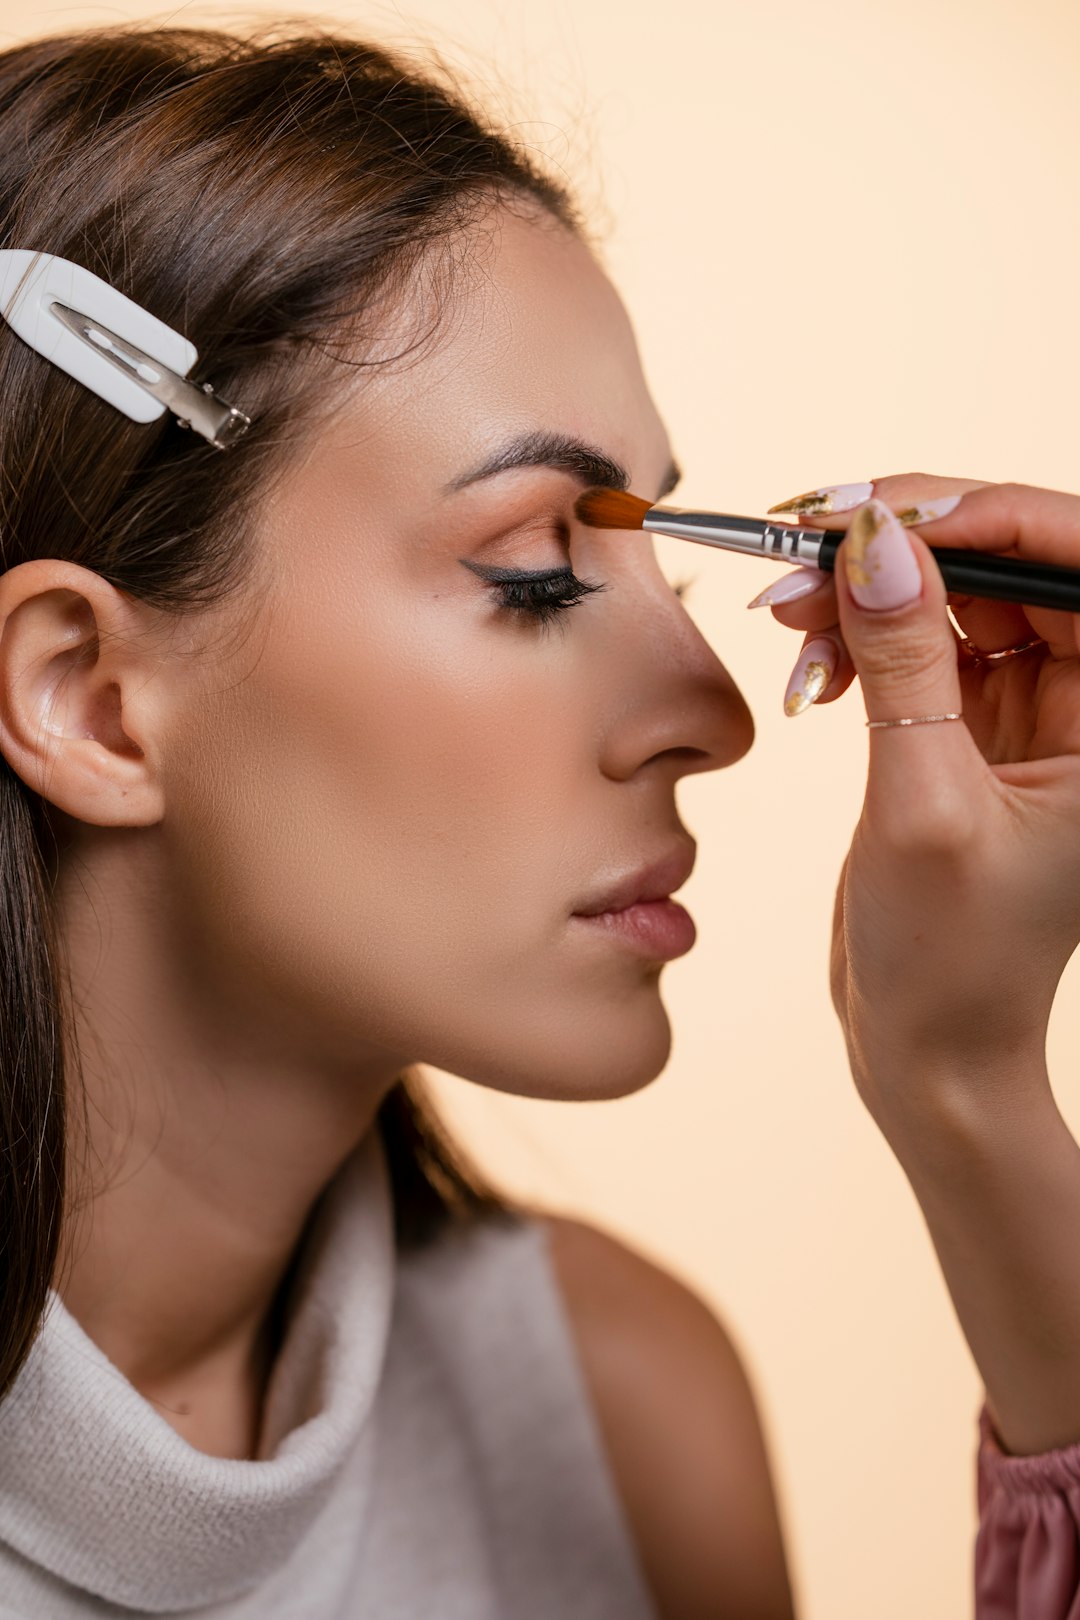
Foundation is often considered the most crucial step in makeup application. When done correctly, it creates a flawless canvas for the rest of your makeup while still looking natural and skin-like. As professional visagistes, we know that mastering foundation application takes practice, but with the right techniques and tools, anyone can achieve a professional-looking finish.
Understanding Your Skin Type
Before selecting a foundation, it's essential to understand your skin type. This knowledge will guide you to the formula that works best for your specific needs:
- Dry Skin: Look for foundations with hydrating ingredients like hyaluronic acid or glycerin. Liquid or cream formulations with a dewy or satin finish work best.
- Oily Skin: Oil-free, matte foundations are ideal. Powder foundations or those labeled "long-wear" help control shine throughout the day.
- Combination Skin: Consider using different formulations on different areas of your face or opt for a medium-coverage foundation with a natural finish.
- Sensitive Skin: Mineral foundations or those free from fragrances, parabens, and other potential irritants are your best bet.
- Mature Skin: Hydrating foundations with light-reflecting properties can minimize the appearance of fine lines. Avoid heavy, matte formulas that can settle into wrinkles.


Finding Your Perfect Shade
One of the biggest challenges with foundation is finding the right shade match. Here's our professional approach:
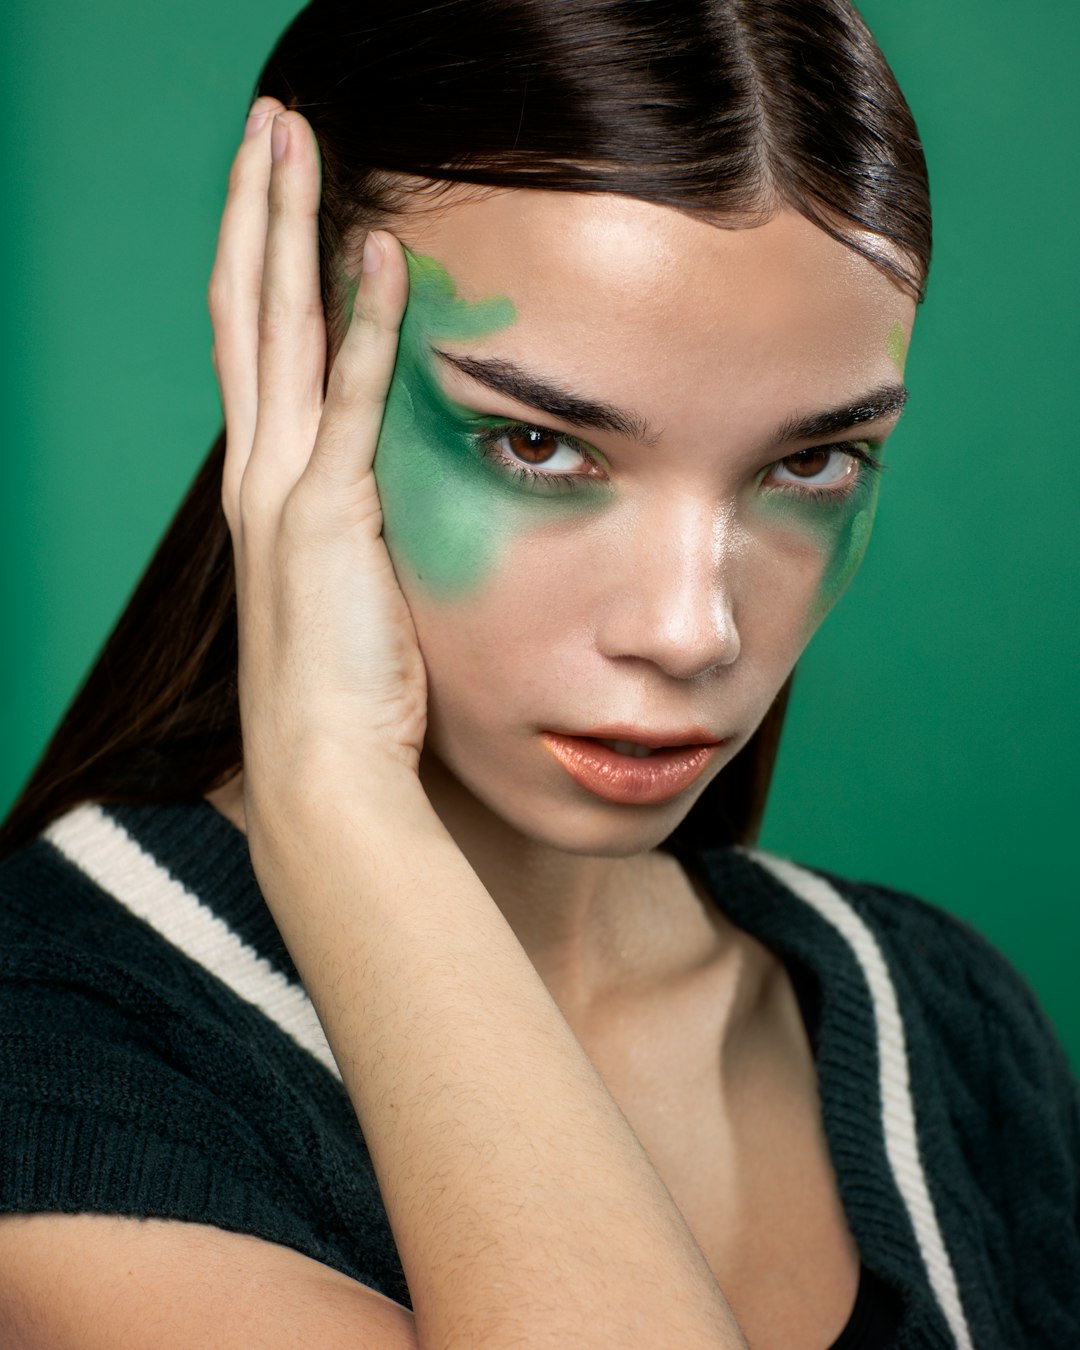
- Identify your undertone: Look at the veins on your wrist. Blue veins indicate cool undertones, green veins suggest warm undertones, and a mix of both points to neutral undertones.
- Test in natural light: Always check foundation shades in natural daylight, not store lighting. Apply a small amount to your jawline and blend down to your neck.
- Match to your neck and chest: Your face is often a different color than your neck due to sun exposure. Match your foundation to your neck and décolletage area for a seamless blend.
- Consider seasonal changes: Your skin tone may vary between summer and winter. Some people keep two foundation shades to mix as needed throughout the year.
- When in doubt, go slightly warmer: A slightly warmer foundation looks more natural than one that's too light or cool, which can appear ashy.
Essential Tools for Application
The tools you use can dramatically affect the finish of your foundation. Here are the options and when to use them:
- Beauty Sponge: Ideal for a natural, seamless finish. Dampen the sponge before use for lighter coverage and a dewy finish.
- Dense Foundation Brush: Perfect for medium to full coverage. Use buffing motions for an airbrushed effect.
- Duo-Fiber Brush: Great for light, buildable coverage and sensitive skin.
- Fingers: Your hands warm the product, helping it melt into the skin. This works well with cream and liquid foundations for a natural finish.
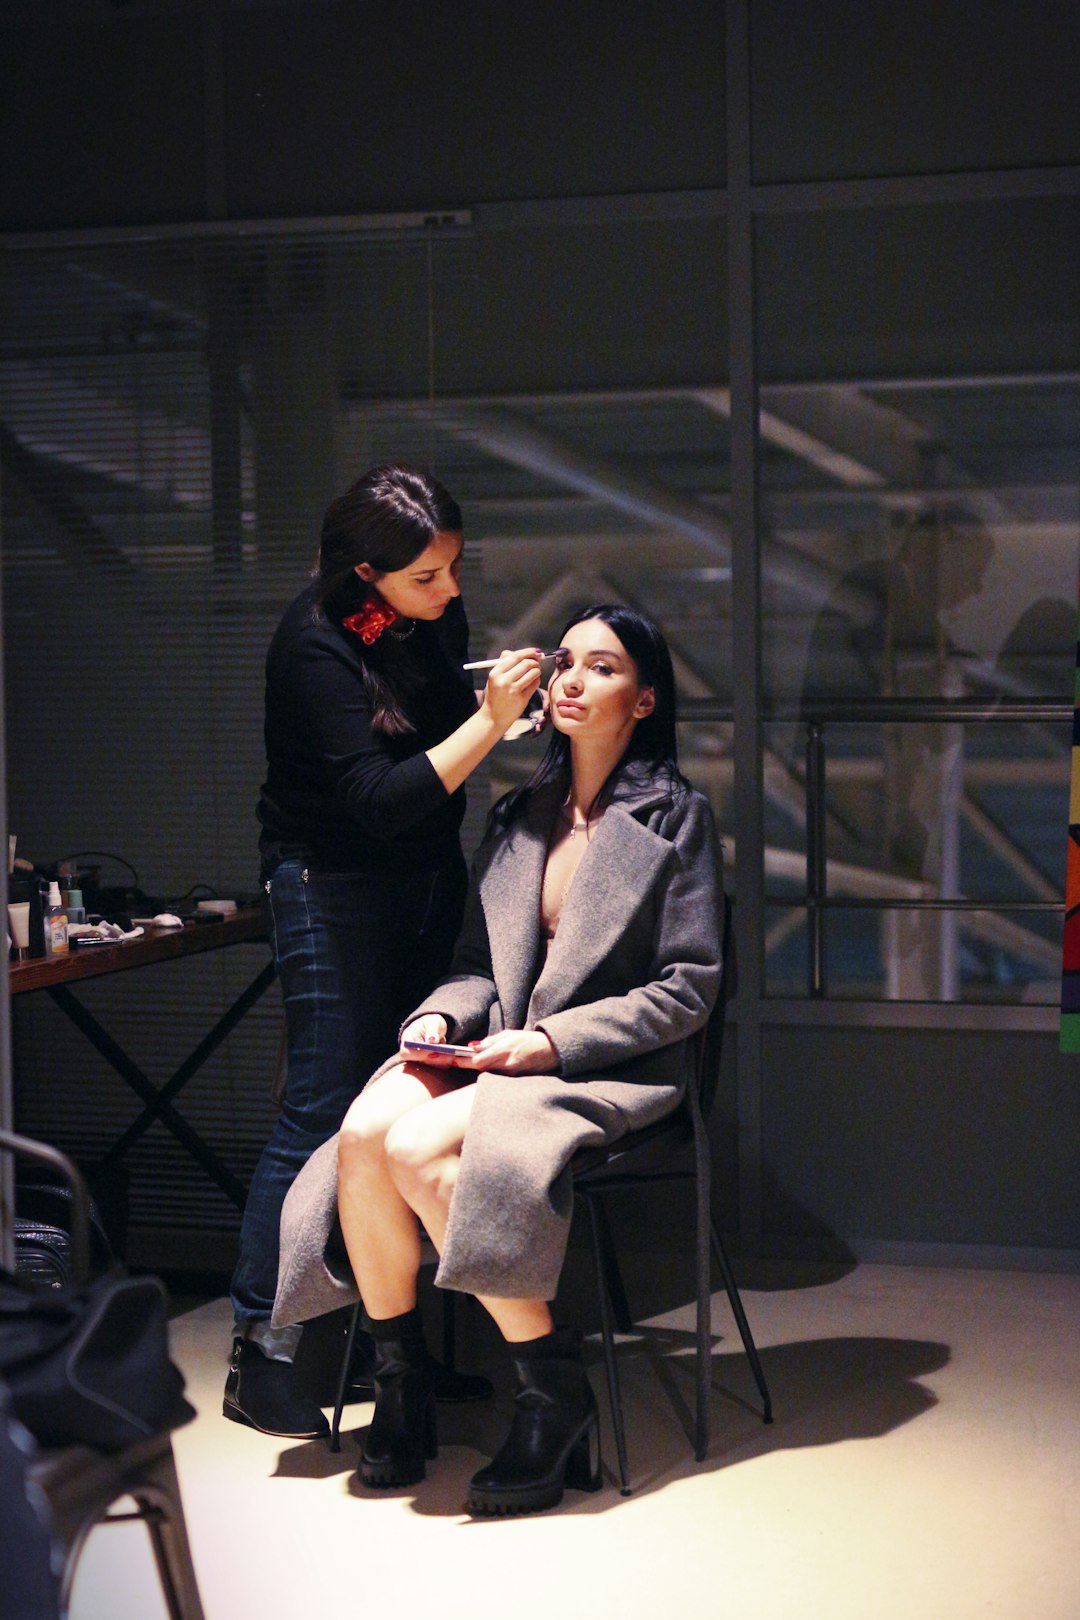
Step-by-Step Application Guide
Follow these steps for a flawless foundation application:
- Prep your skin: Always start with cleansed and moisturized skin. Allow your skincare products to fully absorb (about 5 minutes) before applying foundation.
- Prime: Use a primer suited to your skin type to create a smooth base and extend wear time.
- Apply in sections: Don't apply foundation all over your face at once. Work in sections (forehead, cheeks, nose/chin) for better control.
- Start in the center: Begin application in the center of your face where most coverage is typically needed, and blend outward toward the hairline and jawline.
- Use light layers: It's better to build coverage gradually with thin layers than to apply one thick layer.
- Don't forget your neck: Blend foundation down onto your neck for a seamless transition.
- Set strategically: Apply setting powder only where needed—typically the T-zone for most skin types.
Professional Tips for Long-Lasting Wear
Use these expert tricks to make your foundation last all day:
- Layer your products: For oily skin, apply a mattifying primer, then foundation, then set with powder.
- Press, don't swipe: When setting with powder, press it into the skin rather than swiping to avoid disturbing the foundation underneath.
- Use setting spray: A quality setting spray helps meld all your makeup together and extends wear time.
- Touch up wisely: Instead of adding more foundation throughout the day, blot oil with blotting papers and then lightly touch up with powder if needed.
- Consider the climate: In humid environments, waterproof formulas and thorough setting are essential. In dry climates, hydrating formulas prevent foundation from looking cakey.
Common Foundation Mistakes to Avoid
Even professional makeup artists can make these mistakes—here's how to avoid them:
- Applying too much product: Start with less than you think you need; you can always build coverage.
- Skipping skin prep: Foundation will never look its best on dehydrated or poorly prepped skin.
- Using the wrong lighting: Always check your foundation in various lighting conditions before leaving home.
- Forgetting to blend into the hairline and ears: These areas are often overlooked but can create noticeable demarcation lines.
- Not adjusting technique for different formulas: Different foundation types (liquid, cream, powder) require different application methods for optimal results.
Pro Tip
For special occasions or photography, apply foundation with a damp beauty sponge, then go over areas that need more coverage with a small amount of product on a dense brush. This technique creates a flawless finish that still looks like skin.
Conclusion
Mastering foundation application is truly an art form that takes practice. Remember that the goal isn't to mask your skin completely but to create an even canvas that still looks like your skin—just the best version of it. Experiment with different tools and techniques to discover what works best for your unique skin type and desired finish.
With these professional CandidVector, you're well on your way to achieving that flawless, natural-looking foundation application that forms the perfect base for any makeup look.


Comments (3)
Rebecca Thompson
May 16, 2024This article was so helpful! I've always struggled with finding the right foundation shade, but the tip about matching to my neck instead of my face was a game-changer. Going to try that this weekend!
Michelle Lee
May 17, 2024I've been using my fingers to apply foundation for years because I thought brushes were too complicated. After reading this, I'm going to invest in a beauty sponge. The step-by-step guide is really clear!
Daniel Brooks
May 18, 2024As someone with oily skin, I've always had trouble keeping my foundation in place. The tips about setting with powder by pressing rather than swiping and using blotting papers are exactly what I needed. Thank you!
Leave a Comment