Article Overview
- Understanding undertones and how they affect lip color selection
- Finding the most flattering lip colors for different skin tones
- Professional application techniques for perfect, long-lasting wear
- Tips for enhancing lip shape and addressing common concerns
- Creating versatile lip looks for different occasions
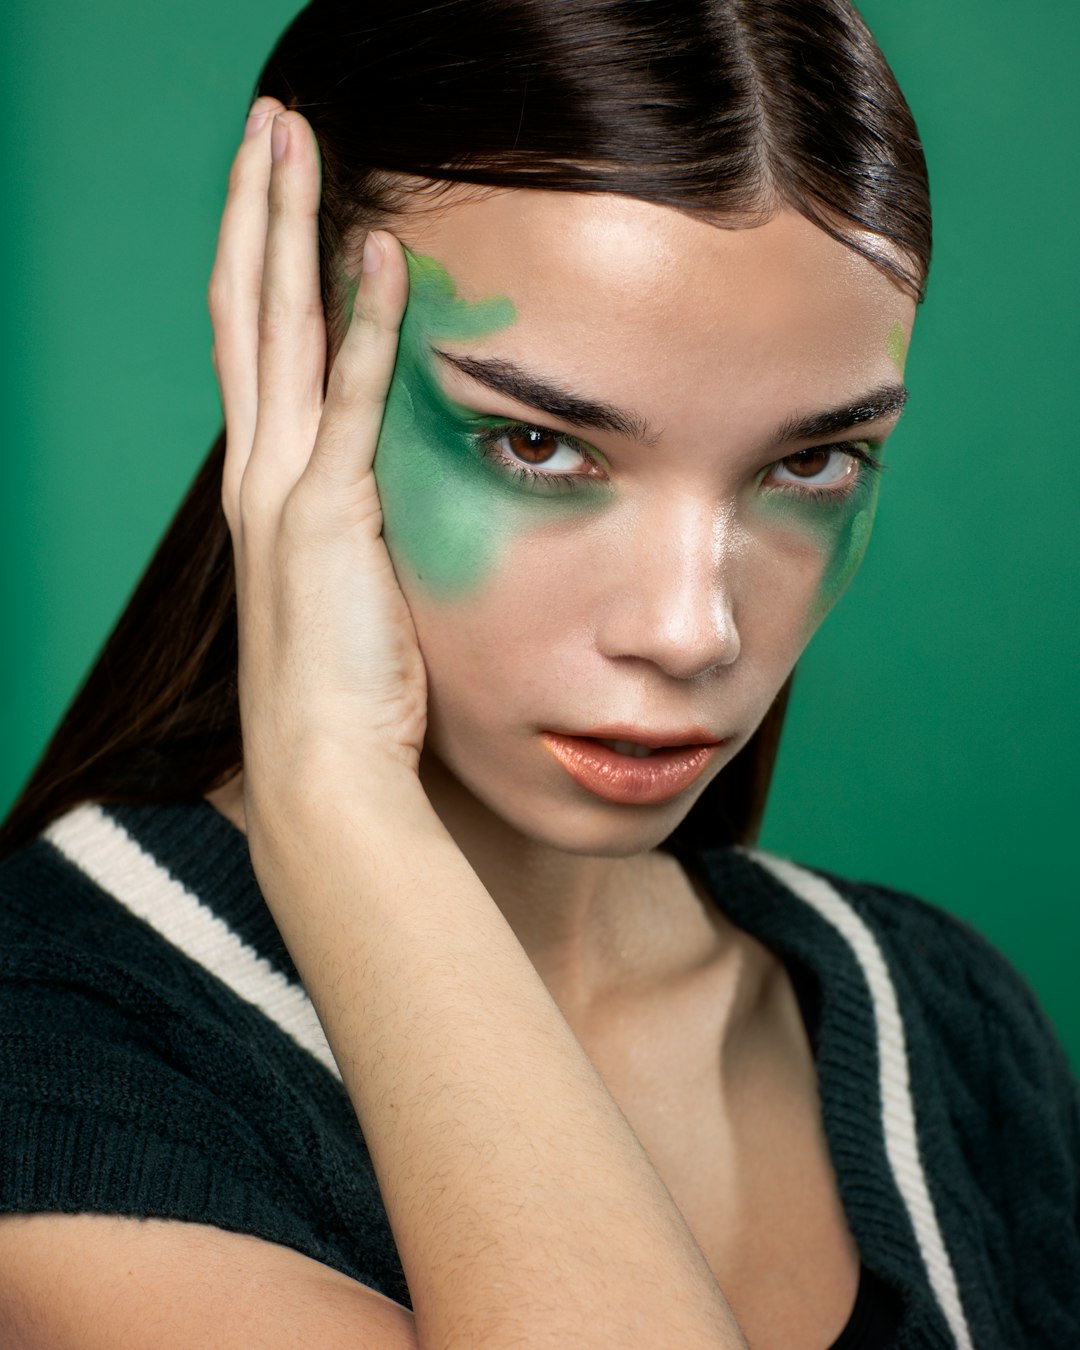
The right lip color can transform your entire look, brighten your complexion, and even influence your mood. As professional visagistes, we know that finding your perfect lip color is both an art and a science. In this comprehensive guide, we'll share expert insights on choosing the most flattering shades for your unique coloring and mastering application techniques for beautiful, long-lasting wear.
Understanding Undertones: The Foundation of Color Selection
Before diving into specific lip color recommendations, it's essential to understand the concept of undertones. Your skin's undertone is the subtle hue beneath the surface color of your skin, and it remains constant regardless of how light or dark your skin becomes with sun exposure or seasonal changes.
There are three primary undertone categories:
- Warm undertones: Golden, yellow, or peachy hues in the skin
- Cool undertones: Pink, red, or bluish hues in the skin
- Neutral undertones: A balanced blend of warm and cool, or olive skin tones
Determining your undertone is the first step in selecting flattering lip colors. Here's how to identify yours:
Vein Test
Look at the veins on the inside of your wrist in natural light:
- If they appear greenish: You likely have warm undertones
- If they appear blue or purple: You likely have cool undertones
- If they appear both blue and green: You may have neutral undertones
Jewelry Test
Consider which metal tones look best against your skin:
- If gold enhances your complexion: You likely have warm undertones
- If silver enhances your complexion: You likely have cool undertones
- If both look equally flattering: You may have neutral undertones
White Clothing Test
Notice how your skin looks against pure white versus off-white:
- If you look better in off-white or ivory: You likely have warm undertones
- If you look better in bright white: You likely have cool undertones
- If both suit you equally: You may have neutral undertones

Flattering Lip Colors for Every Skin Tone
Once you've determined your undertone, you can identify the lip colors that will naturally enhance your complexion. While these are general guidelines, remember that personal preference and confidence play significant roles in what colors work for you.
Fair Skin with Cool Undertones
- Best choices: Soft pinks, light berries, blue-red, rose, mauve, and plum shades
- Challenging shades: Orange-based colors, brown tones, and very dark shades which can create too much contrast
- Celebrity examples: Emma Stone, Nicole Kidman, Anne Hathaway
Fair Skin with Warm Undertones
- Best choices: Peachy nudes, coral, salmon pink, warm reds (with orange undertones), and terra cotta
- Challenging shades: Blue-based reds, fuchsia, and deep purple, which can clash with your natural warmth
- Celebrity examples: Emma Watson, Isla Fisher, Jessica Chastain
Medium Skin with Cool Undertones
- Best choices: Rosy pinks, cranberry, ruby, wine, and cool-toned berry shades
- Challenging shades: Very pale nudes which can wash you out, and extremely bright oranges
- Celebrity examples: Mila Kunis, Jennifer Garner, Lupita Nyong'o
Medium Skin with Warm Undertones
- Best choices: Golden nude, copper, warm coral, orange-red, and rich caramel shades
- Challenging shades: Cool lavenders, gray-toned nudes, and pastel pinks, which can look ashy
- Celebrity examples: Jennifer Lopez, Eva Mendes, Beyoncé
Deep Skin with Cool Undertones
- Best choices: Deep berry, burgundy, blue-based red, fuchsia, and deep plum shades
- Challenging shades: Pale nudes and pastels without enough pigment can look ashy
- Celebrity examples: Viola Davis, Alek Wek, Lupita Nyong'o
Deep Skin with Warm Undertones
- Best choices: Rich brown, copper, bronze, orange-red, deep coral, and warm berry shades
- Challenging shades: Very pale colors and cool pastel shades without enough depth
- Celebrity examples: Iman, Gabrielle Union, Naomi Campbell
Olive Skin (Neutral with Green Undertones)
- Best choices: Warm pinks, peach, coral, cranberry, and tawny rose shades
- Challenging shades: Nudes that are too close to your skin tone can wash you out
- Celebrity examples: Penélope Cruz, Shay Mitchell, Priyanka Chopra
Pro Tip
When testing lip colors in a store, don't rely on swatching them on your hand. Instead, apply a small amount to your fingertip and hold it up to your lips to get a better sense of how the color will look against your face.
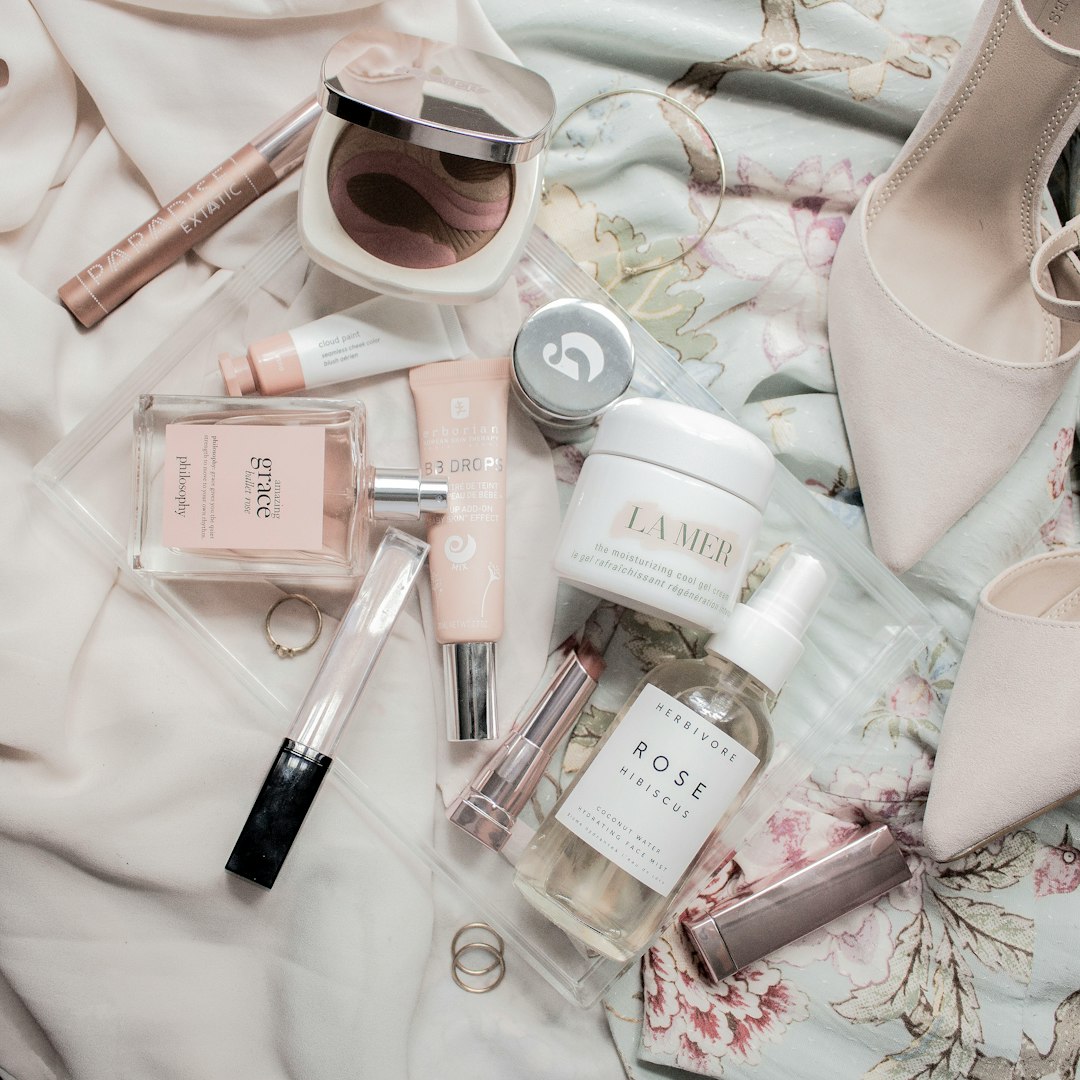
Understanding Lip Color Formulations
Beyond color selection, the formulation of your lip product affects both its appearance and wear time. Here's a breakdown of the main types:
- Matte: No shine, longest-lasting, can be drying but provides intense, opaque color payoff
- Satin: Slight sheen, comfortable wear, moderate longevity, and good color payoff
- Cream: Soft sheen, hydrating, medium longevity, and rich color
- Gloss: High shine, shortest wear time, typically sheer to medium coverage
- Stain: Long-lasting color that sinks into lips, often with a matte finish
- Balm: Sheer, hydrating, and comfortable with minimal color payoff
Consider your needs and preferences when selecting a formulation:
- For all-day wear with minimal touch-ups: Choose matte or stain formulas
- For dry lips: Opt for cream, satin, or balm formulas with hydrating ingredients
- For maximum impact: Matte or cream formulas deliver the most intense color
- For subtle enhancement: Glosses and tinted balms offer a more natural look
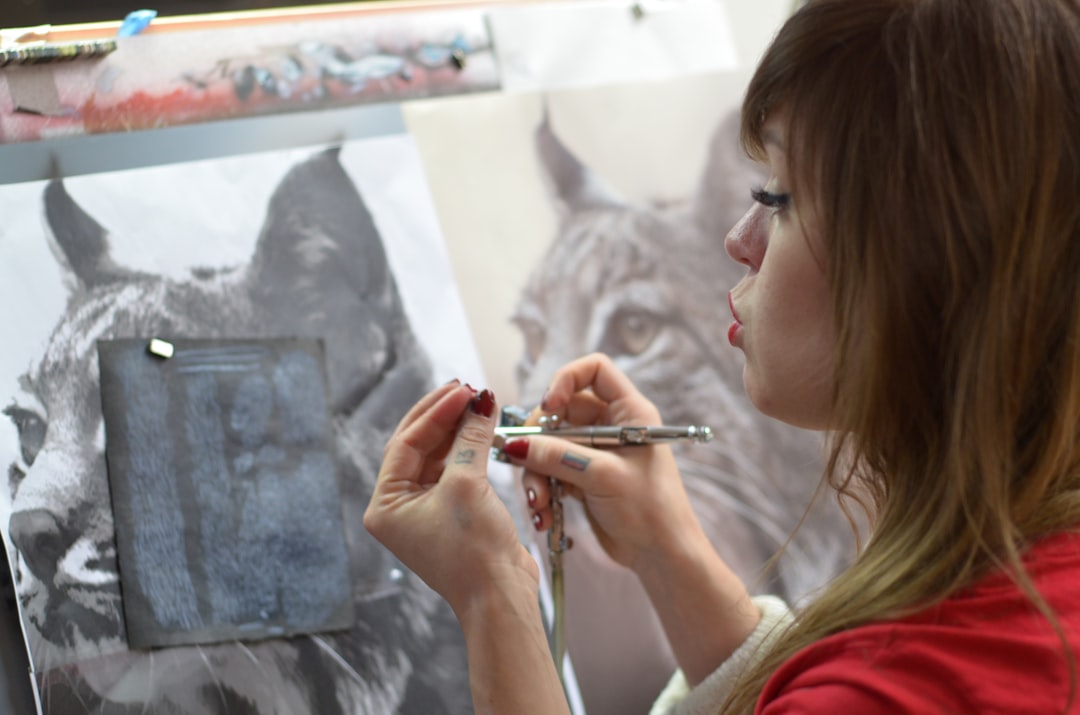
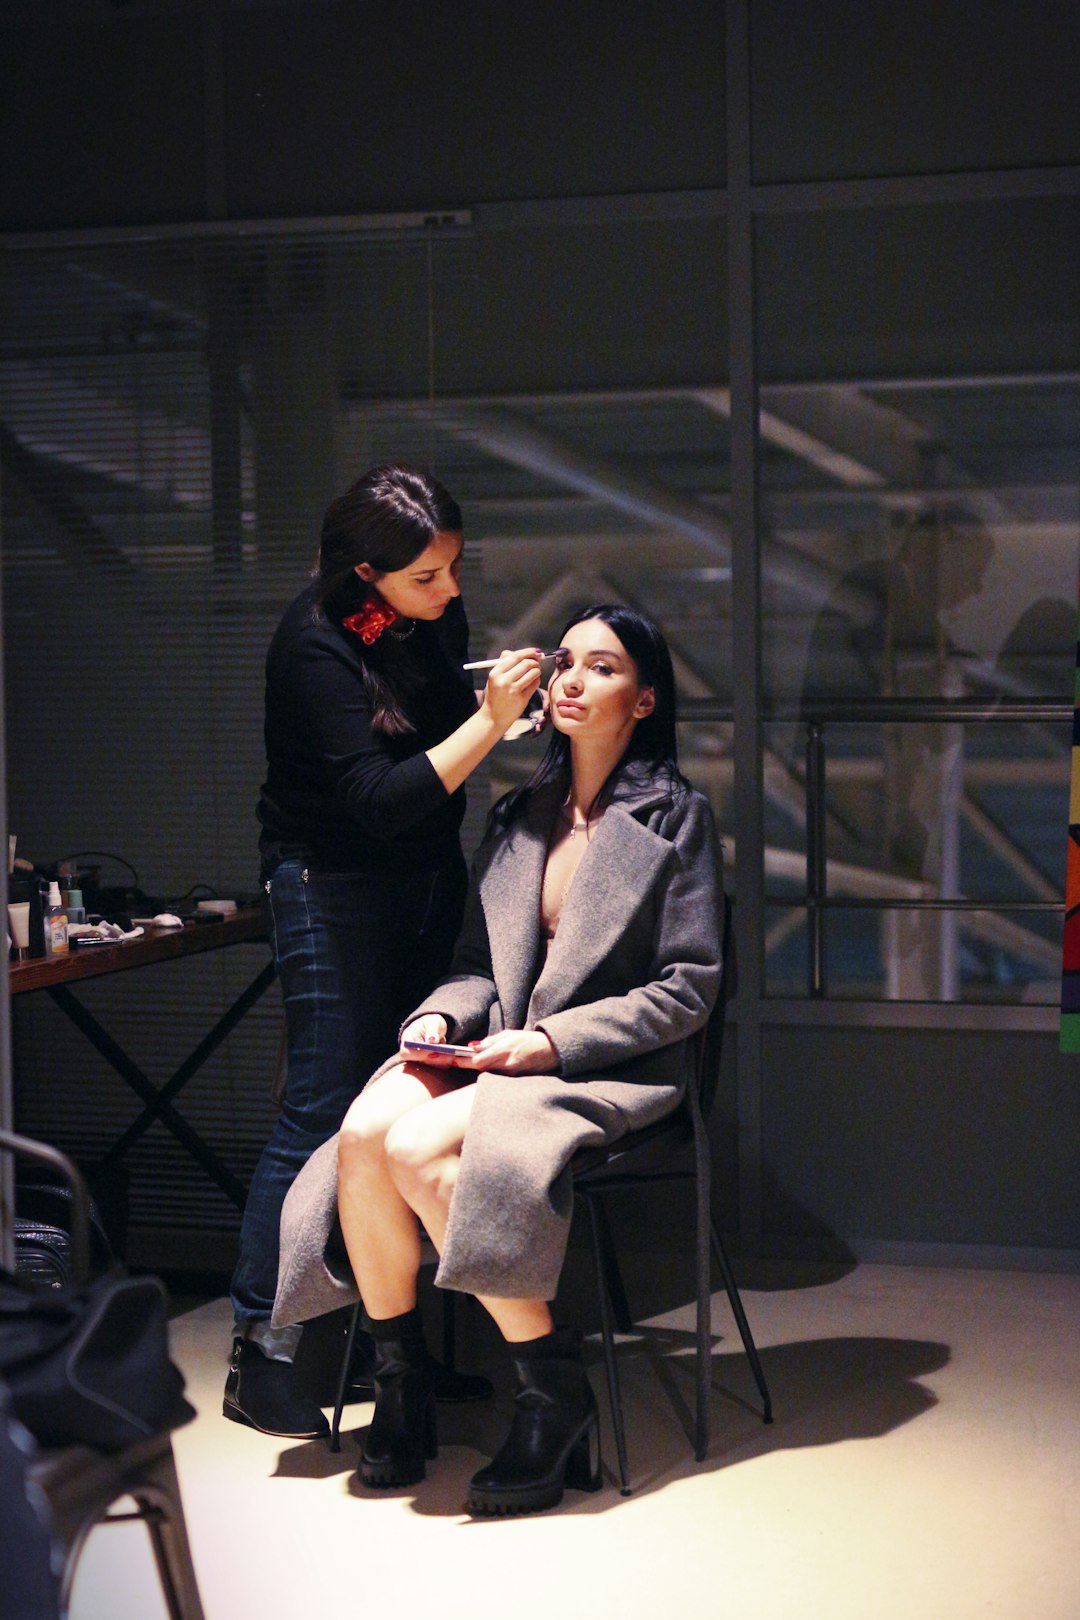
Professional Application Techniques
Even the perfect lip color can look less than ideal with improper application. Follow these professional techniques for flawless results:
Basic Application for Long-Lasting Wear
- Prep the lips: Exfoliate gently with a lip scrub or soft toothbrush to remove flaky skin. Follow with a thin layer of lip balm, allowing it to absorb before applying color.
- Define with liner: Use a lip liner that matches your natural lip color or your lipstick shade to outline the lips. For a natural look, follow your natural lip line; for a fuller appearance, trace slightly outside the natural border (but keep it subtle).
- Fill in with liner: Lightly fill in the entire lip with the liner to create a base for your lipstick, which improves longevity and prevents the "ring around the lips" as color fades.
- Apply lipstick: Apply from the center of the lips outward. For precision, use a lip brush, especially with bold colors or when defining the cupid's bow.
- Blot and reapply: For maximum longevity, blot with a tissue and apply a second layer.
- Define edges: Clean up the edges with a small concealer brush dipped in concealer to create crisp lines and prevent bleeding.
- Optional setting: For matte looks, lightly dust translucent powder over a tissue placed on the lips to set the color without adding texture.
Techniques for Different Lip Shapes
Customize your application based on your unique lip shape:
- Thin lips: Slightly overline the lips (especially the cupid's bow and center of the lower lip) and use lighter, glossier formulas that create the illusion of fullness.
- Full lips: You can wear virtually any finish, but avoid overlining, which can make lips appear too prominent. Focus color in the center for a balanced look.
- Asymmetrical lips: Use liner to create subtle corrections, slightly adjusting the shape where needed for better symmetry.
- Undefined cupid's bow: Create definition by drawing an "X" at the cupid's bow with liner before applying lipstick.
- Downturned corners: Avoid taking dark colors all the way to the corners, which can emphasize the downturned appearance. Instead, focus color in the center and blend outward.
Ombré Lip Technique
This professional technique creates dimension and the illusion of fuller lips:
- Apply a darker lip liner around the perimeter of the lips and blend inward slightly.
- Apply a lighter shade of the same color family to the center of the lips.
- Blend where the two colors meet with a lip brush for a seamless gradient effect.
- Optional: Add a touch of gloss or highlighter to the very center of the lower lip for added dimension.
Pro Tip
For precise application with bold or dark colors, use a small synthetic concealer brush to create a clean edge around the lips instead of trying to achieve perfection with the lipstick bullet itself.
Troubleshooting Common Lip Color Issues
Even with the right color and technique, you might encounter these common challenges:
Bleeding or Feathering
- Use a clear lip liner around the entire perimeter of the lips.
- Apply a thin layer of translucent setting powder around the lip line.
- Choose long-wearing or matte formulas, which are less likely to migrate.
- Consider an anti-feathering lip primer designed specifically for this issue.
Dry, Flaky Lips
- Incorporate regular lip exfoliation into your routine (1-2 times weekly).
- Apply a hydrating lip mask overnight.
- Avoid matte formulas in favor of hydrating, creamy textures.
- Look for lipsticks with moisturizing ingredients like hyaluronic acid, vitamin E, or shea butter.
Lipstick Settling into Lines
- Use a lip primer to fill in fine lines before color application.
- Opt for satin or cream formulas rather than mattes, which tend to emphasize texture.
- Apply in thin layers rather than one thick coat.
- Avoid heavy gloss on top, which can cause color to migrate into lines.
Fading in the Center
- Fill in the entire lip with liner before applying lipstick.
- Avoid licking your lips, which accelerates color fading.
- When eating or drinking, try to do so from a straw or the back of utensils.
- Carry your lip color for touch-ups, focusing on the center of the lips.
Creating Versatile Lip Looks
With the right techniques, you can transform the same lip color for different occasions:
Daytime/Office Look
- Apply lip balm, then blot excess.
- Dab lipstick onto the center of the lips with your fingertip.
- Blend outward for a soft, diffused stain effect.
- Skip liner for a more casual appearance.
Evening/Formal Look
- Follow the complete application process with liner.
- Apply lipstick directly from the bullet for full intensity.
- Define edges with concealer for a polished finish.
- For added dimension, apply a touch of highlighter to the cupid's bow.
Statement Lip
- Keep the rest of your makeup minimal to let your lips be the focal point.
- Use the full application technique with particular attention to crisp edges.
- Consider the ombré technique for added drama.
- For maximum impact, choose a shade that creates strong contrast with your skin tone.
Conclusion
Finding your perfect lip color is a personalized journey that combines understanding color theory with your unique preferences. While these guidelines provide a starting point, don't be afraid to experiment beyond them. The most important factor is how a lip color makes you feel—if you love it and wear it confidently, that's what truly matters.
Remember that lighting dramatically affects how lip colors appear, so evaluate potential shades in different settings before making a final judgment. And don't feel limited to just one or two "perfect" colors—most people can successfully wear a range of shades across different color families.
With the right color selection and application techniques, your lip color can be more than just a finishing touch—it can be a powerful tool for self-expression and confidence.

Comments (3)
Sophia Rodriguez
March 23, 2024I've always been confused about undertones. The vein test finally helped me figure out that I have warm undertones! No wonder the cool-toned pinks I kept buying looked so odd on me. Can't wait to try some coral and peachy shades!
Jasmine Thomas
March 24, 2024The tip about using a concealer brush to clean up the edges of your lipstick is a game-changer! I tried it with a dark berry shade that always looked messy when I applied it, and the result was so much more polished.
Elena Petrova
March 26, 2024I've been using the ombré lip technique for special occasions, and it really does make my lips look fuller! The step-by-step instructions here are much clearer than other tutorials I've seen. Thank you for the detailed explanation!
Leave a Comment